 Home33
 home二级菜单
 home3级菜单
 Collection
 Search
 USD
USD


Home
/
LulzBot Mini 2 ABS+ Enclosure
LulzBot Mini 2 ABS+ Enclosure
WISHLIST
Quantity
-
Detail
Description
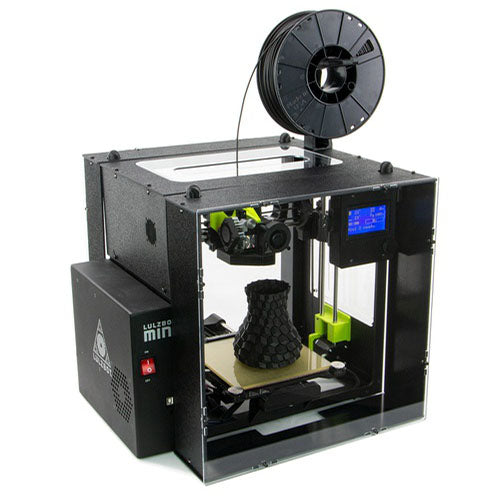
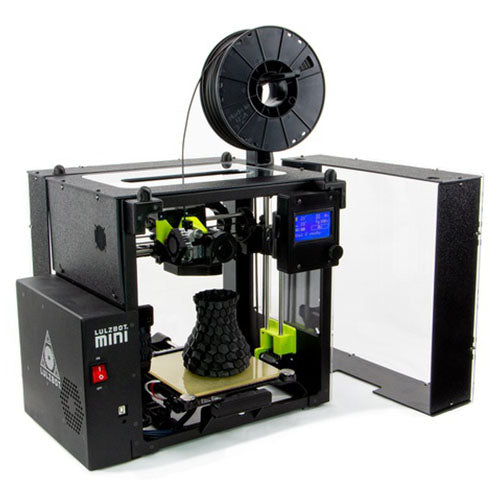
LulzBot Mini 2 ABS+ Enclosure
Use this 3D printer enclosure with your LulzBot Mini to minimize warping and cracking caused by printing in cold and drafty environments while keeping curious hands and paws away from heated and moving parts of your 3D printer. This enclosure features a strengthened design with ABS panels, LulzBot branded laser-etched acrylic, and comes ready to assemble with all components provided (no 3D printing required).
Perfect for:
- Cold and/or drafty environments
- Printing materials with high shrink rates, like ABS, Nylons (Polyamides), and Polycarbonates
- Classrooms, Libraries, and high-traffic areas with curious hands
Product Features:
- This enclosure is made with optically clear, lightweight 3 mm thick extruded acrylic and rugged ABS panels. Assembly and installation is easy as this kit contains all the necessary hardware, including the four 3D printed corner brackets.
- Advanced users can mount a 40 mm fan to vent air from the enclosure, add filtration, and more. When assembled, this enclosure only adds 105 mm (4.1 in) along the length of the Y-axis ( front to back).
Compatibility:
- LulzBot Mini v2.0, Boxed for Retail, AU
- LulzBot Mini v2.0, Boxed for Retail, EU
- LulzBot Mini v2.0, Boxed for Retail, NA
Parts Included:
Laser cut, extruded 3 mm thick acrylic sheets and ABS panels
- Two (2) Part A: Front and rear panel with logo
- Two (2) Part B: Rear cover sides
- One (1) Part C: Rear cover top
- One (1) Part D: Rear cover bottom
- One (1) Part E: Front cover sides
- One (1) Part F: Front cover top
- One (1) Part G: Front cover bottom
- Two (2) Part H: Front and rear cover stiffener
- One (1) Part I: Short side cover
- One (1) Part J: Long side cover
- One (1) Part K: Top cover
- One (1) Part L: Optional top insert
- 36 M3-10 mm bolts
- 8 M3-40 mm bolts
- 36 M3 square nuts
- 2 M3 washers
- Printed copy of Assembly Instructions
- Two (2) 3D printed left brackets (STL)
- Two (2) 3D printed right bracket (STL)
- One (1) 3D printed Mini LCD bracket (STL)
Tools Needed:
- 2 mm hex driver
- 2.5 mm hex driver
- Optional: Painters tape
- Optional: Flat razor
Time Required:
- 1-2 hours, based on skill level
Warnings:
- Acrylic can easily crack - do not over tighten the screws. Tighten to hold without movement.
- When cleaning, use dish soap or hand wash and a soft, clean cloth. Do not use Windex® or other glass cleaning solutions. Do not use a hard sponge, scrub, or abrasive surface.
Extended Product Information:
- Assembly Instructions
-
Part A: Front and rear panel with logo PDF
- Part B: Rear cover sides PDF
- Part C: Rear cover top PDF
- Part D: Rear cover bottom PDF
- Part E: Front cover sides PDF
- Part F: Front cover top PDF
- Part G: Front cover bottom PDF
- Part H: Front and rear cover stiffener PDF
- Part I: Short side cover PDF
- Part J: Long side cover PDF
- Part K: Top cover PDF
- Part L: Optional top insert PDF
-
Customer ReviewsNo comments